You will need
- - threads 40 m;
- - ring with a diameter of about 4.5 cm (you can use key rings or grommets from the curtain);
- - scissors;
- - needles;
- - small rubber bands (stationery or hair);
- the pad for securing the product needles.
Instruction
1
Podgotovlennosti 8 thread, length is 5 metres. Fold the thread so that one end was 3.5 m and the other 1.5 m. Attach it to the ring: put the folded floss under the ring with a loop up, loop fold forward at the ring, both ends of the thread insert in the loop and tighten.
2
Following the thread of the fold so that the first end was 1.5 m, and the second is 3.5 m. Attach it to the ring the same way. It turns out the order of threads is as follows: 3.5 m – 1.5 m; 1.5 m - 3.5 m in the process of weaving the thread are not confused – tie them with a rubber band. The inner (1.5 m) together, and extreme (3.5 m) separately. Secure the ring on the pillow with needles.
3
Weave "handle""Handle" pots , run flat single left knot diagram. 3.5 m threads are called workers, 1.5 m thread – tie-dye (figure A). During the weaving tie-dyed threads are practically not consumed, and worker threads fall rapidly. In the left hand take the 1st working thread, bend angle 90 degrees, put both knotted strands 2 and 3 (figure B). Right thread – the 4th, the right hand put on top of the 1st, and get two nodules (figure B). Left hand pull the 4th thread from the top of the 1st out of the loop, which was formed between the 1st and nodular filaments (figure G). Tighten the knot by pulling simultaneously in different directions for right and left worker threads.
4
Continue to braid knots under each other, they begin to twist the edge to the right. When the cord is turned to face you squarely, tighten it to the left, the working thread left to right and right to left. Continue weaving the thread on the left. The cord should be a length of 50 cm.
5
Begin to weave the "bar tack". Do it appliances flat single right node. Technique is the same but in mirror image. Braid first the right node, then left and again right. Pen pots are ready. Similar weave another 3 pens. The scheme for clarity.
6
Spin Korinchenko do are already familiar with the technique of flat nodes. The nodes begin to braid from the left and finish left – only 5 pieces. This group of nodes is called a jumper. Position the cord at a distance of 4-5 cm, keeping the order of attachment to the ring. Lay the threads as shown.
7
Measure 8 cm from the cord to the jumper. Secure with needle metered spot and spin jumper. Weave 2 more jumpers. Until next jumper, measure 6 cm, just attach a needle and weave two jumpers, one by one. Now combine the cloth baskets in one. Spin on weight, a jumper, maintaining a distance of 8 cm. the First round is closed. After 6 cm interlace two jumpers of the second round. Looked at the diagram.
8
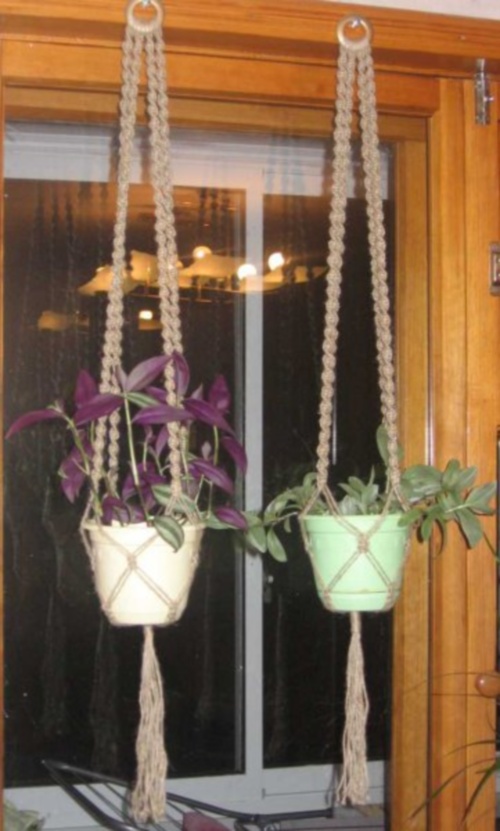
Fitting and oblekovice pots and place the pot in the basket. With a rubber band measure where you want the braid. Disconnect all the threads and tie off the braid place. Cut 50 cm of rope. Fold so that one end was 40 cm and another 10 cm, Attach the thread to the beam by a loop up. Long thread to wrap the bundle together with a loop from the bottom up. Make about 6-8 turns. Keep the turns smooth and tight. Insert in the loop the long end and tighten with a short lower end. The plexus must be inside the braid. Neatly trim the ends. Cut the tail of any length that you like. The ends can be tied into knots, decorated with beads or just leave.To weave this planter was used the most simple techniques. If you've ever tried to weave – everything will work without problems.
Useful advice
Don't be afraid to get started. Remember, when you read, everything seems complicated and confusing. But we should start, and before you know it, and pots ready!