You will need
- - Adobe Photoshop;
- - image file.
Instruction
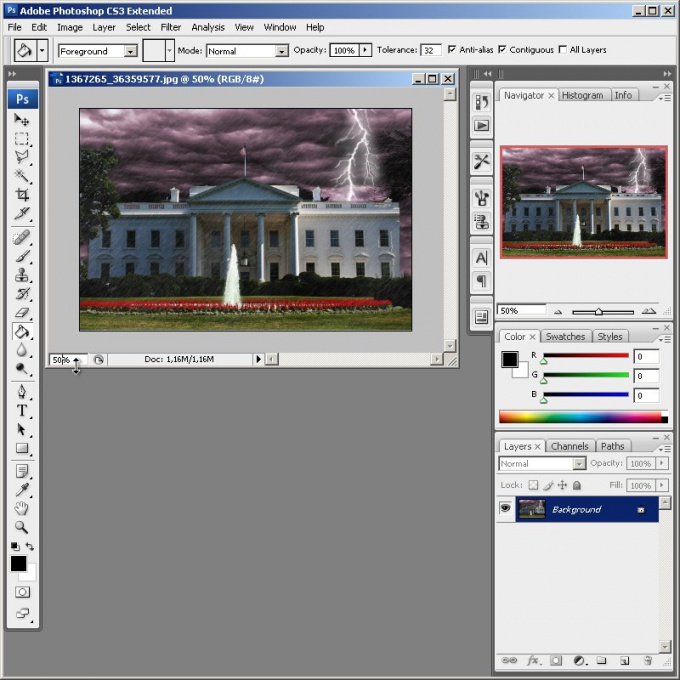
1
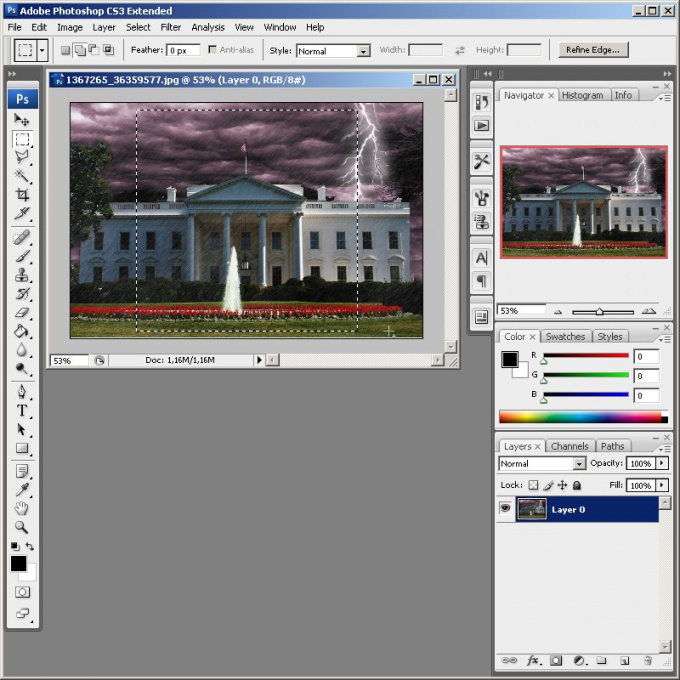
Open original image in Adobe Photoshop by selecting "Open..." from the File menu. Using the text field located at the bottom of the document window or tool Zoom Tool select the zoom view. It needs to allow manipulation of the entire image area intended for treatment.
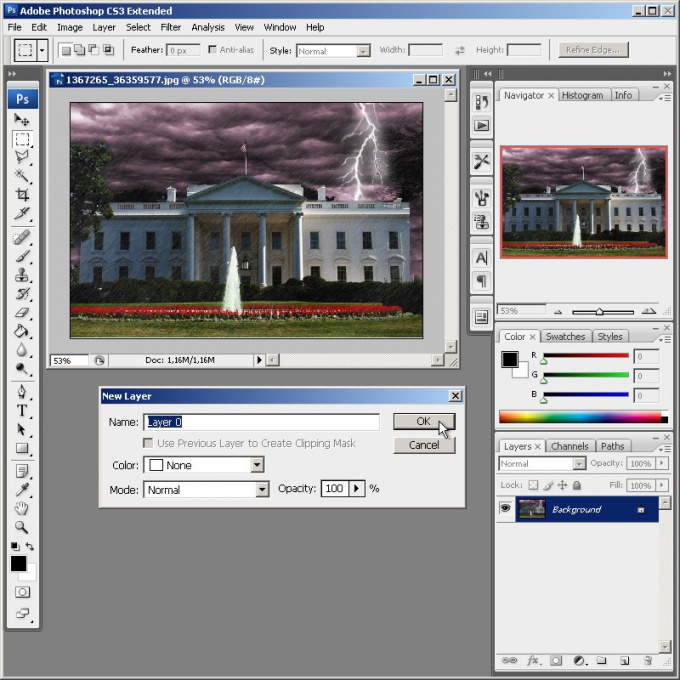
2
Create a primary layer from the background. In the main menu, select Layer, New, "Layer From Background...". Click on the OK button in the dialog Layer.
3
Select the area of the image that you want to apply the effect of "fish eyes". Use the tools Rectangular Marquee Tool or Elliptical Marquee Tool. If there is to be processed the whole image, skip this step.
4
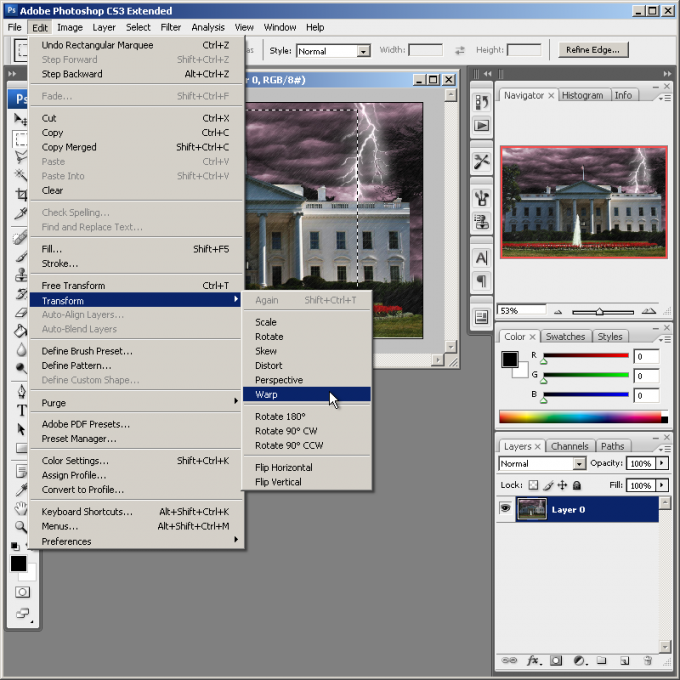
Activate image processing using distortion. In the menu click Edit, Transform and Warp. After that, the document window displays the mesh to control the effect parameters.
5
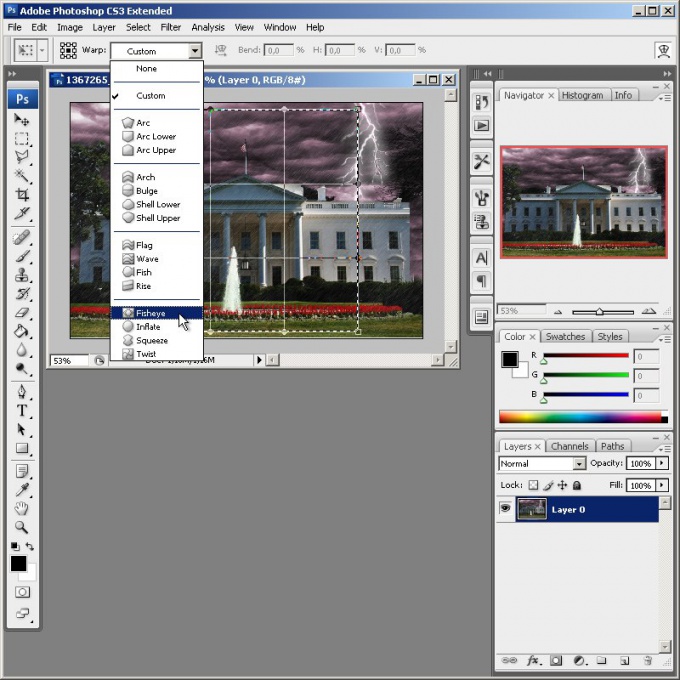
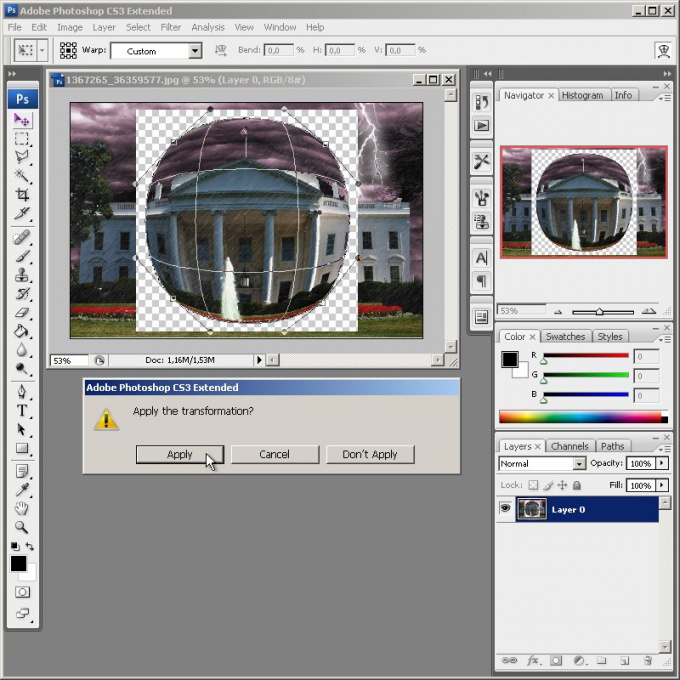
Change the distortion type used in "fish eyes". Click on the drop-down list, Warp, located in the upper toolbar. Select the item Fisheye. The control grid in the document window's appearance will change (there will be only one token).
6
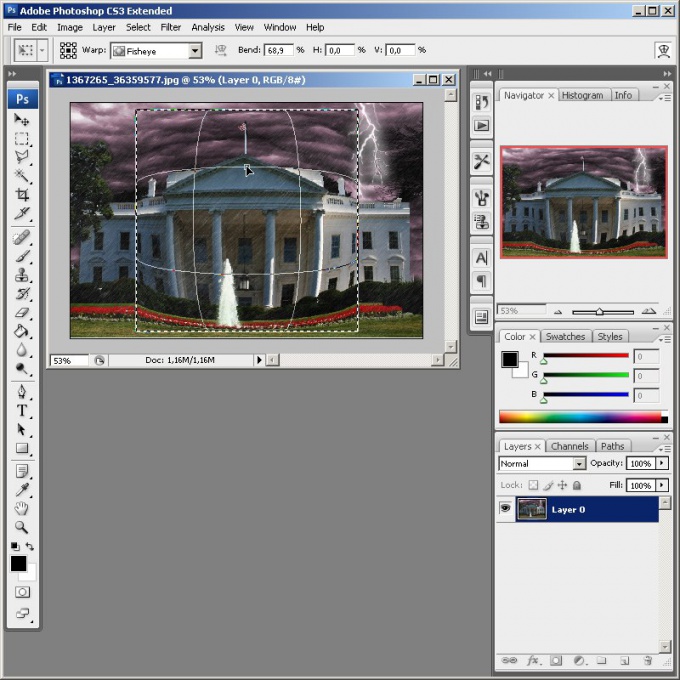
Apply the effect "fish eye" to the processed image. Move the mouse marker grid control until the desired level of distortion.
7
If necessary, make additional changes to the image, for example, give the field distortion of the rounded shape, select the Custom item Warp. Move the grid nodes to obtain the desired effect. Apply the changes by clicking on any toolbar button and clicking OK in the dialog that appears.
8
If necessary, modify the image made by the effect of "fish eyes". For example, invert the current selection by pressing Ctrl+I clear the background by pressing Del, and then fill it with the desired color using the Paint Bucket tool. Produce the crop tool Crop Tool.

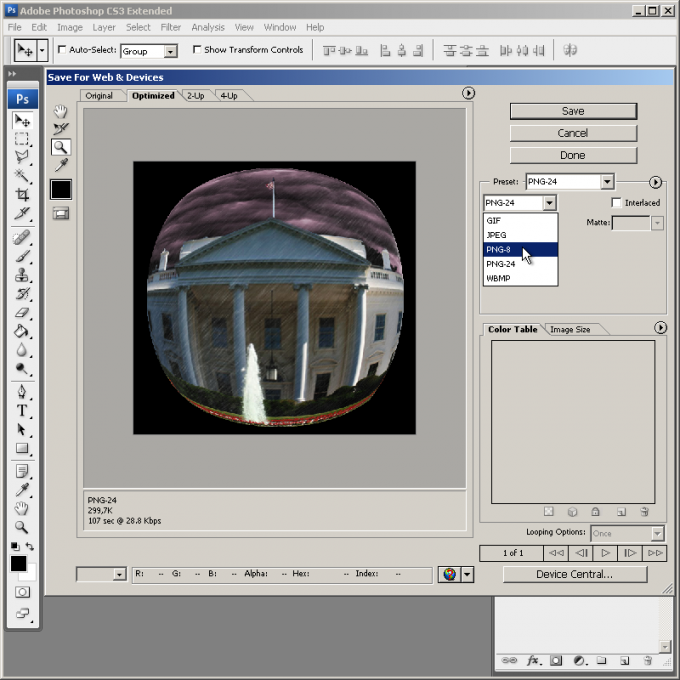
9
Save the result to a file. Select "Save As..." or "Save for Web & Devices..." section in the File main menu. While maintaining special attention to the choice of format and compression ratios. If the image you intend to work, save a copy in PSD format.