You will need
- pattern;
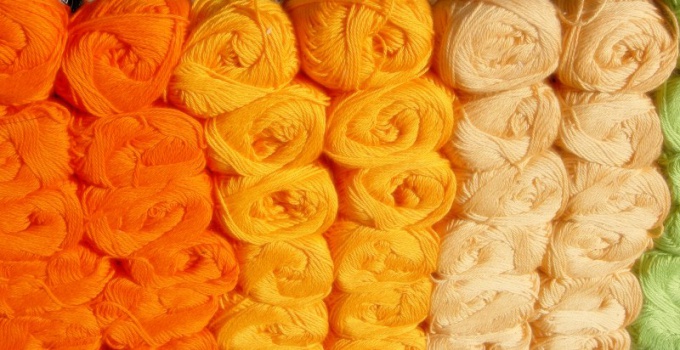
- yarn;
- hook, knitting needle or fork;
- needle.
Instruction
1
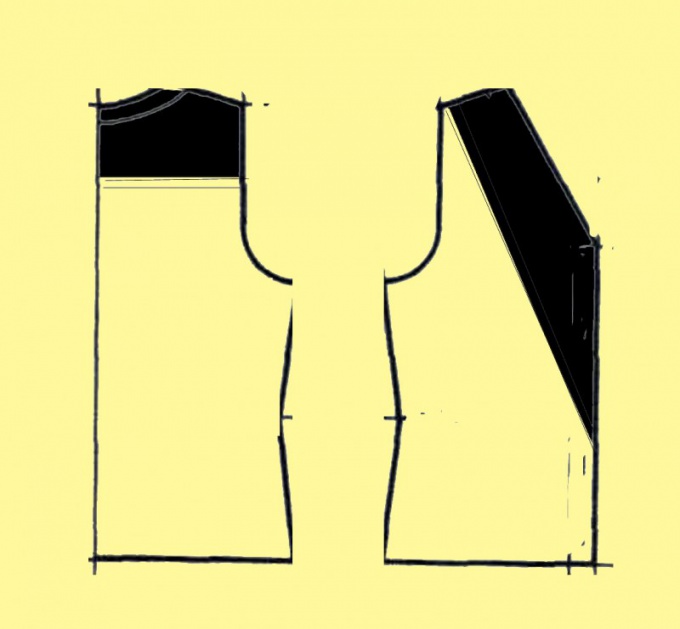
Build a pattern. If you already have a pattern for knitted products, circle it on the graph paper or any other paper. There are styles where the yoke fits tight one with other parts, but often it still is a separate item. Imagine what it must be form. Decide whether she's just on the shelf or on other parts also. Draw the expected shape of the pattern.
2
Select the method binding and the pattern. Technique can be mixed, for example, very beautiful knitted on needles the easiest pattern dress with lace yoke. It can be the upper part from the neck to the breast line or wedge like a V-neckline. Great care require round yoke. In the simulation it is necessary to accurately find the center of the circle and strictly observe the symmetry. Such flirts better to knit from separate motifs.
3
Wedge-shaped yoke, it is best to start knitting the bottom three loops. As the figure is suitable, for example, a grid. If you knit it on the needles, dial 3 loops. Remove the edge, make a yo, proverite 1 front loop, and before the last loop, run another yo. Even rows knit in pattern.
4
The order of addition of loops depends on how sharp the wedge you want to. If the angle is approximately equal to, which is usually made of reglan, it is sufficient to add 1 St on each side, all front rows. More acute to the vertical angle is obtained by increasing the number of rows between additions.
5
In any case, nakedi used for adding loops located at the edges of the wedge. They are not kompensiruet knit together loops. To get the grid after extreme facial provarite nakida 1, then 1 yo, 2 together for the front, 1 yo, 2 together. and so alternate until the end of the row. To extreme provarite 1 nakida facial. Even the ranks of tally in this case.
6
Davaite wedge-shaped yoke to the neck. Find the middle of the row. Half of the hinges to remove the extra needle or thread. In the second half, close some of the loops for the neck and knit shoulder, making the bevel on the pattern. Close the loops of the last row and in the same way tie the second arm. This yoke is best to sew on the main part, seam "loop in the loop." Suture you can tie the lace.
7
The execution of wedge-shaped yoke crochet is a little different from the previous method. Tie a chain of 3-5 of the stitches, make a loop on the rise, flip the work and in the first column provarite 2. Do the same in the last column. The grid can be obtained in two ways. You can, for example, knit into 1 column with stitches or without, on the next to make the air loop, and the next column to purl in the third consecutive loop of the previous row.
8
The mesh can consist exclusively of air loops. Over the initial chain provarite the number of columns without nakida. Flip the work, make 1 column with nakida, then link the chain of 5 loops and secure it in the middle column of the previous row. Then tie another the same chain, securing it in the last column. On the rise knit of aerial loops and bars. In each following row of the chain cling to the middle of the arc of the previous row. The addition is due to the increase in the number of loops in the first and last chains.
9
The yoke may be of individual motifs such as flowers. Attach any number of items, pin them to the pattern. To connect the individual motives can be like a chain of air loops (which a slight movement of the hook turned into bride resembling lace) and needle and thread the same color. In the latter case, and something vaguely reminiscent of Irish lace. Edging you can make a homemade braid of the same yarn.
10
On the same principle fit in the yoke and on the plug. However, to link it to the same canvas you are unlikely to succeed. Make a wedge-shaped pattern or a straight yoke. Tie on the fork desired number of Strips and join them together with crochet, strictly observing angles. Make edging a hook. It's just a chain of air loops or a couple of rows of columns without nakida.
Useful advice
Round yoke spokes better knit top. Dial the number of loops corresponding to the circumference of the neck. Schedule line for which you want to add a loop. You need to add 8 loops in each even or each odd row, for the Raglan, or wedges. But the positioning of these lines can be arbitrarily. For example, divide the total number of loops into 8 pieces and put hinges in every second row, but not two, and one.
You can do the illusion yoke. For example, the strip that runs along the upper part of the product with Raglan sleeve, looks like the boundary of a square yoke.
You can do the illusion yoke. For example, the strip that runs along the upper part of the product with Raglan sleeve, looks like the boundary of a square yoke.