Instruction
1
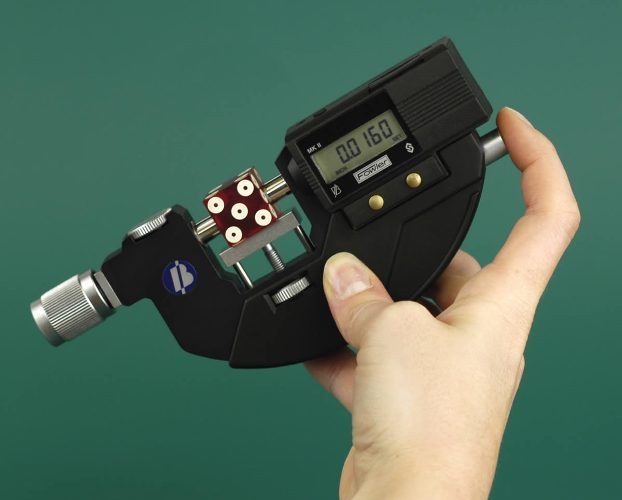
Use to determine absolute instrumental error determined by the design of the instrument, a special table, the errors of measuring instruments. For example, the drawing line length is 500 mm and the interval is 1 mm absolute instrumental error of plus or minus 1 mm; and for micrometer with measuring range of 25 mm and 0.01 mm, this value will be plus or minus 0.005 mm.
2
Determine the absolute error of reference. It is derived from not very accurate readings, starting with measuring instruments and devices. In most cases it is equal to the half the price of division of the instrument scale. When measuring time absolute error of reference take is equal to the division value of the stopwatch (hours).
3
Calculate the maximum absolute error of direct observation. It is defined as the sum of the absolute instrumental error and the absolute error count (if other types of errors can be neglected):
A' = AI + AO where
A' – maximum absolute error of direct observations;
AI – absolute instrumental error;
AO absolute accuracy of the countdown.
A' = AI + AO where
A' – maximum absolute error of direct observations;
AI – absolute instrumental error;
AO absolute accuracy of the countdown.
4
When determining absolute error of measurement instrument, we round it to one significant digit. The numerical value of the result of the measurement procedure are rounded so that its last digit were in the same category as the digit error.
5
If there is a need for instrument re-measurement undertaken in the same controlled conditions, then the margin of error, referred to here as the random, determine the arithmetic average of errors of all measurements.
6
To define an absolute sampling error of electrical measuring instrument, find out its accuracy. It usually indicate the scale of the device or technical data sheet (description).
