You will need
- - clay;
- - oilcloth;
- water;
- - capacity for kneading clay;
- wooden stacks;
- - sponge;
- - gouache or acrylic paint.
Instruction
1
Modeling clay you can find near the river, the ravine, and construction of the pit. Take a sealed container, which can be folded find that it doesn't dry out. Remember that clay should always be slightly moist. This material can be of different colors and shades: white, blue, red, yellow, black, etc. it All depends on the type of soil and terrain in which you took the clay.
2
At home using the fine meshes, clean the natural clay with small pebbles, plants and other foreign particles. Don't neglect this step: it depends on the strength of the future product.
3
If you do not want to use natural clay, buy in the art store its synthetic analogue: polymer clay.
4
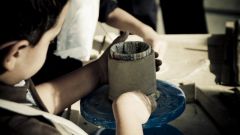
Prep work: lay the cloth, so as not to stain the table, take a plastic or wooden stacks, a container of clay, a glass of water to hydrate the product, a sponge. Prepare a sketch or photograph of the toy that will sculpt.
5
First, try to mold most: the torso Foundation. Then carefully attach small parts: tail, ears, eyes and so on. The joints lubricate with liquid clay (slip). Smooth figure with dampened sponge. The finished product leave in a dark place until dry.
6
Within a day or two not to touch a toy: it needs to dry well.
7
You must then burn the hack. It is best to conduct firing in a special muffle furnaces. Find out from friends of the masters whether they will agree to burn your product for a fee. If not, use a home oven. Place the toy in the oven, and then gradually raise the temperature to 200 degrees for two hours.
8
Then allow to cool crafts in a natural way.
9
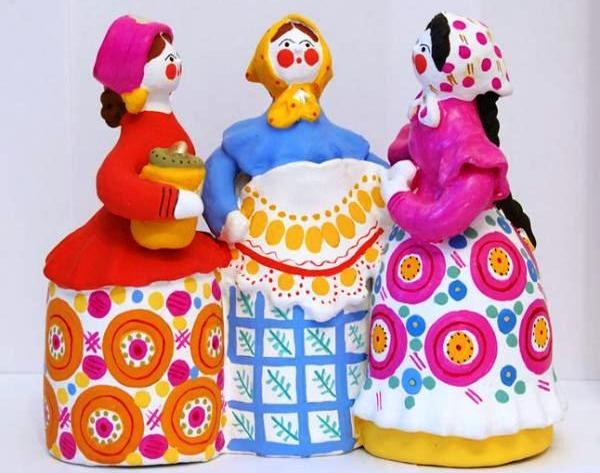
Annealed toy you can paint. For this purpose suitable conventional gouache paint, and acrylic. The latter have the advantage that after drying they are not afraid of moisture, in contrast to the gouache.
10
Shall describe the toy according to your sketch. At the end decorate the craft with ribbons, bows, beads.