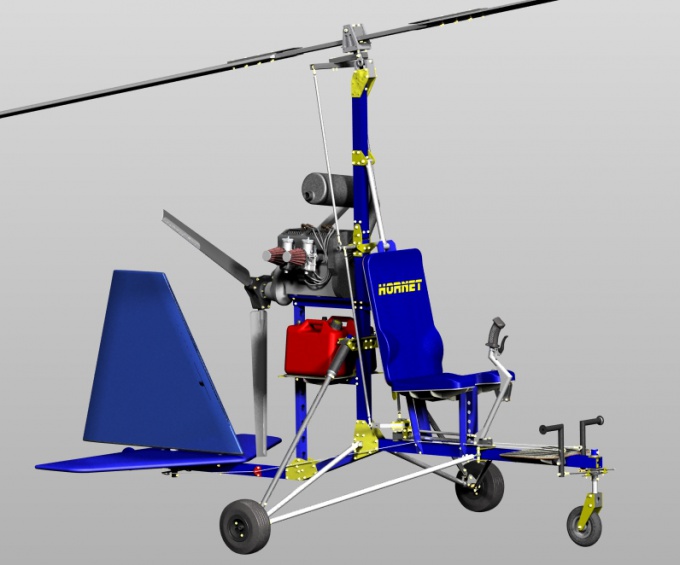
You will need
- The dural tube (the cross-section of 5x5 cm and 3-milimetrovym wall thickness), electric drill, brackets, bolts, MB, wheel axle, seat, rubber Luggage truck, webbing, foam cushion, upholstered with fabric, brake device, pedals, counterweights and the tail wheel.
Instruction
1
Fabricate axial and keel beams, using the dural tube. The holes in the beams is performed so that the drill drills only touched the inner part of walls. Drill right bracket through the hole at the base of it pressed against the mast. Screw the left side bracket using the holes attached to the right bracket. Beams ready.
2
Slightly bevel the base of the mast, this will allow you to install it with a slope, so the rotor blades will have an angle of attack of nine degrees. It is necessary for the emergence of a lifting force.
3
Attach the axial beam to the keel with four bolts MB. To the ends of the beam axial screw wheel axle.
4
Attach the backrest and seat frame, first among themselves and then to the mast of a gyroplane. Here's how: put on the frame of the seat rings, by cutting them off before their rubber camera trucks. Put on top of cloth-covered foam pad and tie her ribbons properly.
5
The pens of the fork of the front wheel gyrocopterand hang the brake device.
6
Screw the pedal is designed to control an aerodynamic wheel. The pedals attach the pieces of rope that extend to the hog steering.
7
Attach the farm to the airspeed indicator.
8
Rivet the plate in the points of attachment of the keel beam from the tail to the stabilizer. This needs to be done to increase the stiffness of the connection.
9
Attach to the aerodynamic horn two counterweight: 350 grams each. They are necessary to eliminate the phenomenon of flutter.
10
Screw the tail wheel at the end of the keel beam.
Note
Check all the pins, because the rise in the air on a malfunctioning gyro can be fatal for you!
Useful advice
Glue the individual elements better epoxy glue to the flat surface, in order to prevent even the slightest shift.
