You will need
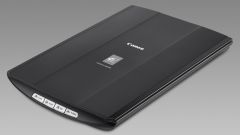
- scanner;
- - a set of drivers;
- - photographs;
- - Adobe Photoshop, Abbyy FineReader, XnView or any other program where there is a scan function.
Instruction
1
Install the drivers. They may be on the disc that came with the scanner. Sometimes they need to be download on the manufacturer's website. The last option is more often required in the case when attached to the instrument drivers don't want to work with your system. Read the instructions to the scanner and connect it correctly.
2
Put the necessary software. Most likely, some software you already are. If you tried to handle images, you probably did it through one of the versions of Adobe Photoshop. More universal is Abbyy Fine Reader - it allows you to scan as images and texts. XnView is intended mainly for viewing images, but there is also a scan feature. To learn about the existence of such a function, go to menu "File". Look in pop-up window with the string "scan".
3
Start the desired program. In many cases, a window prompting you to open a particular program appears immediately after you open the scanner cover. Typically, these "rooms" does Abbyy Fine Reader. If this proposal is not followed, go to menu "file" and select the scan function.
4
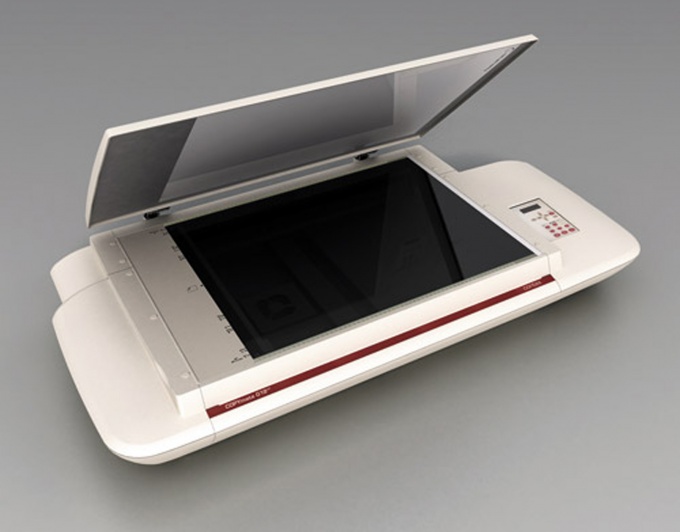
Open the scanner cover and put a photo or several. They need to place the image to the glass. On the screen you should see a window prompting you to do a preview or scan. Select the first and click the appropriate button. The scanner will run, and soon on the small screen window will appear with the image.
5
Will you need to scan those photos and then cut them, or you prefer to digitize them one by one. Depending on this, select one or more. This is done with the mouse just as in any other program. Area of selection is limited by the dashed line. A rectangle can be reduce or increase.
6
In the window of the scanner there are still a few small Windows. Different manufacturers are different, but there is always a choice - color or black-and-white image, resolution, size, and style. To scan color images select color scanning. This window can be specified with different options to choose they have empirically. If the photo is black and white, it is preferable to choose shades of gray" - then the picture will turn out with all the semitones.
7
Choose the resolution. It depends on what you definition photos. For high quality select the resolution of more. Typically, the program offers multiple permissions, but you can set up your.
8
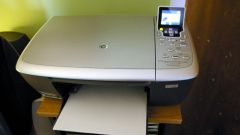
With the settings, click "scan" and see what happens. If you have properly installed the area, then you'll have a picture of the same format as the original. After the scanner stops, the screen will display the image. It can be cut, expand and handle as any other picture. In order to save the photo, go to menu "file" and find the line "save" or "save as". Select the extension and give the file a name.
Useful advice
When you scan photos pasted on the pages of the thick album cover of the scanner remains elevated. Most scanners designed for that they will put the objects with certain thickness. Put the loop that attached the lid, almost vertical. Put the album and cover it with a lid. You can put a small cargo.