You will need
- - small Phillips screwdriver;
- - screwdriver hexagon;
- - stationery eraser;
- - Scotch.
Instruction
1
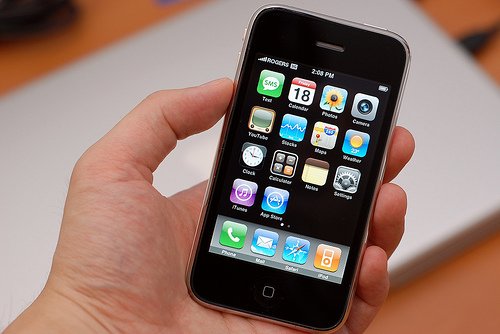
Clear workspace of unnecessary items. Take a small box for storage of bolts, so they are not lost. Separate from the phone side. Using hex driver remove the two screws at the bottom of the back cover and two screws under the side panels. Also don't forget to remove two screws in the battery compartment. Where removed the side panel, you will see the latch. Use a screwdriver to pry off the top cover. Turn off plug screen and a Phillips-head screwdriver Unscrew the two small screw that are at the top. Look in the upper right corner of the Board headphone Jack. Below that is the microphone. Connector free from the phone case and separate the Board from the screen.
2
Using the eraser, clean the contacts of the loop – they need to Shine. Next, flip the screen and connect it to the Board. Then, you should include this design. Tape on Board secure the battery. Such a structure could make, it is necessary to remove the lock, which is located between the battery and CF connectors. On the motherboard hit the Power button.
3
The failure typically is that it does not pass the contact from the Flex cable to the touch screen. To verify this, the connection area of the screen and put the loop eraser. Press it lightly and move the stylus across the screen. If everything works, it's easy to fix. Smooth and cut very thin strip of the eraser, about 1 mm. Then glue the striped glue that hardens immediately on contact of the plume with the screen. If during Assembly you find that the screen is not restored, just slide the eraser to the right place.
4
Assemble all parts in reverse order. Don't forget about the microphone and the tape left to mount the battery. Sometimes it happens that the disassembly leads to hard-reset, e.g. due to a discharged auxiliary battery. In this case, make Russification and start the recovery process.