You will need
- A small Phillips screwdriver, a container for storing screws
Instruction
1
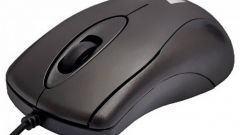
Prepare the mouse to disassembly. To do this, disconnect it from the computer and put it on the table, turning upside down. Look on the bottom of the mouse mounting screw. Cogs are sometimes not immediately visible, as they are often hidden under stickers. In this case, first remove the base of the mouse all the stickers.
2
Carefully Unscrew the mounting screws. The screw heads on the arms usually cross shape, so the screwdriver required is the same. The screws are located in recesses, removing them will be easier with a magnetic screwdriver. Important after loosening the screws to put into a container, otherwise they will be lost.

3
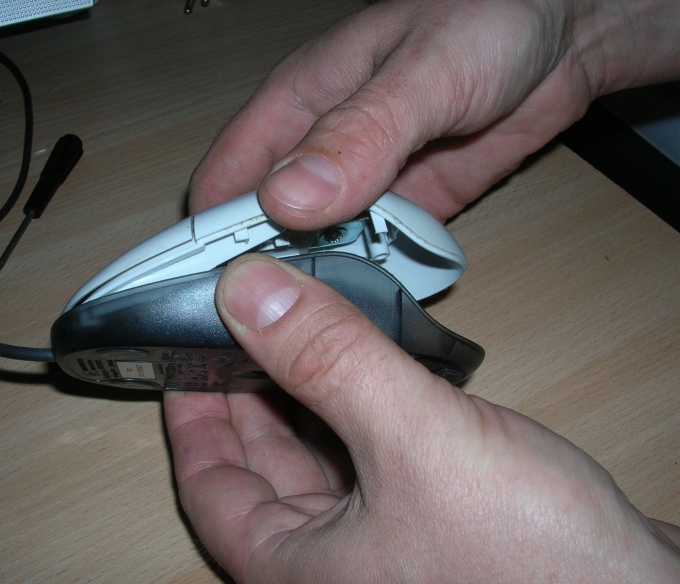
Open the case. To do this hold the mouse with two hands over the upper and lower surfaces and pull. Calculate the effort not to disengage the cover latch around the cord. It is best to pull the cover up and slightly to the left. It is now possible to purge and clean the inside of the mouse of accumulated debris and dust.
4
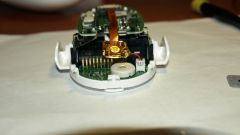
Remove the base of the mouse wheel (scroller). There are different designs of mounts scrollers. Often fairly beat up and the wheel will be removed together with its fastening or latch. Axle wrap-scroller is often a lot of hair. Remove this hair with a suitable tool.
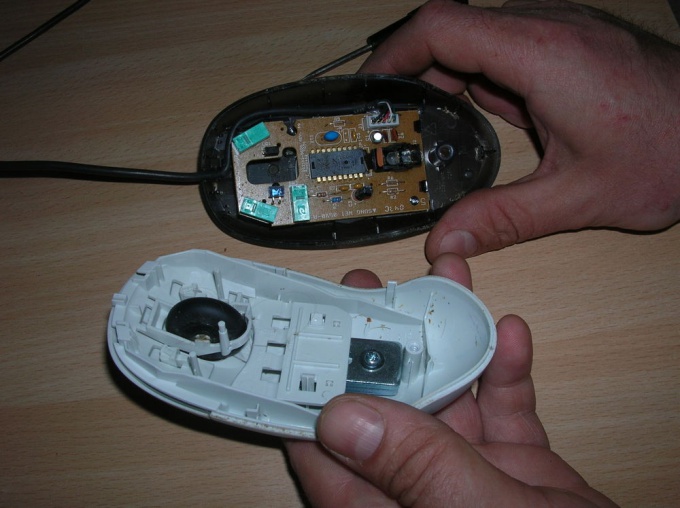
5
Remove the card or mikroshemka mouse. The Board is attached by clamps, or bolted with screws. Latch gently pry off with your fingers. And Unscrew the screws and put the rest of the details. Easy pulling tab up, separate it from the body of the mouse. All, analysis of mouse over.
Useful advice
The build of the mouse is carried out in reverse order. On put Board, scroller and cover. In the presence of the latches, make sure they they all fell into place with a click.